Getting started using Visual Studio
Follow these steps to create your first custom indicator for Tickblaze using Visual Studio.
Prerequisites
- Visual Studio
- Install .NET SDK 9.0
1. Create a New Solution and Project
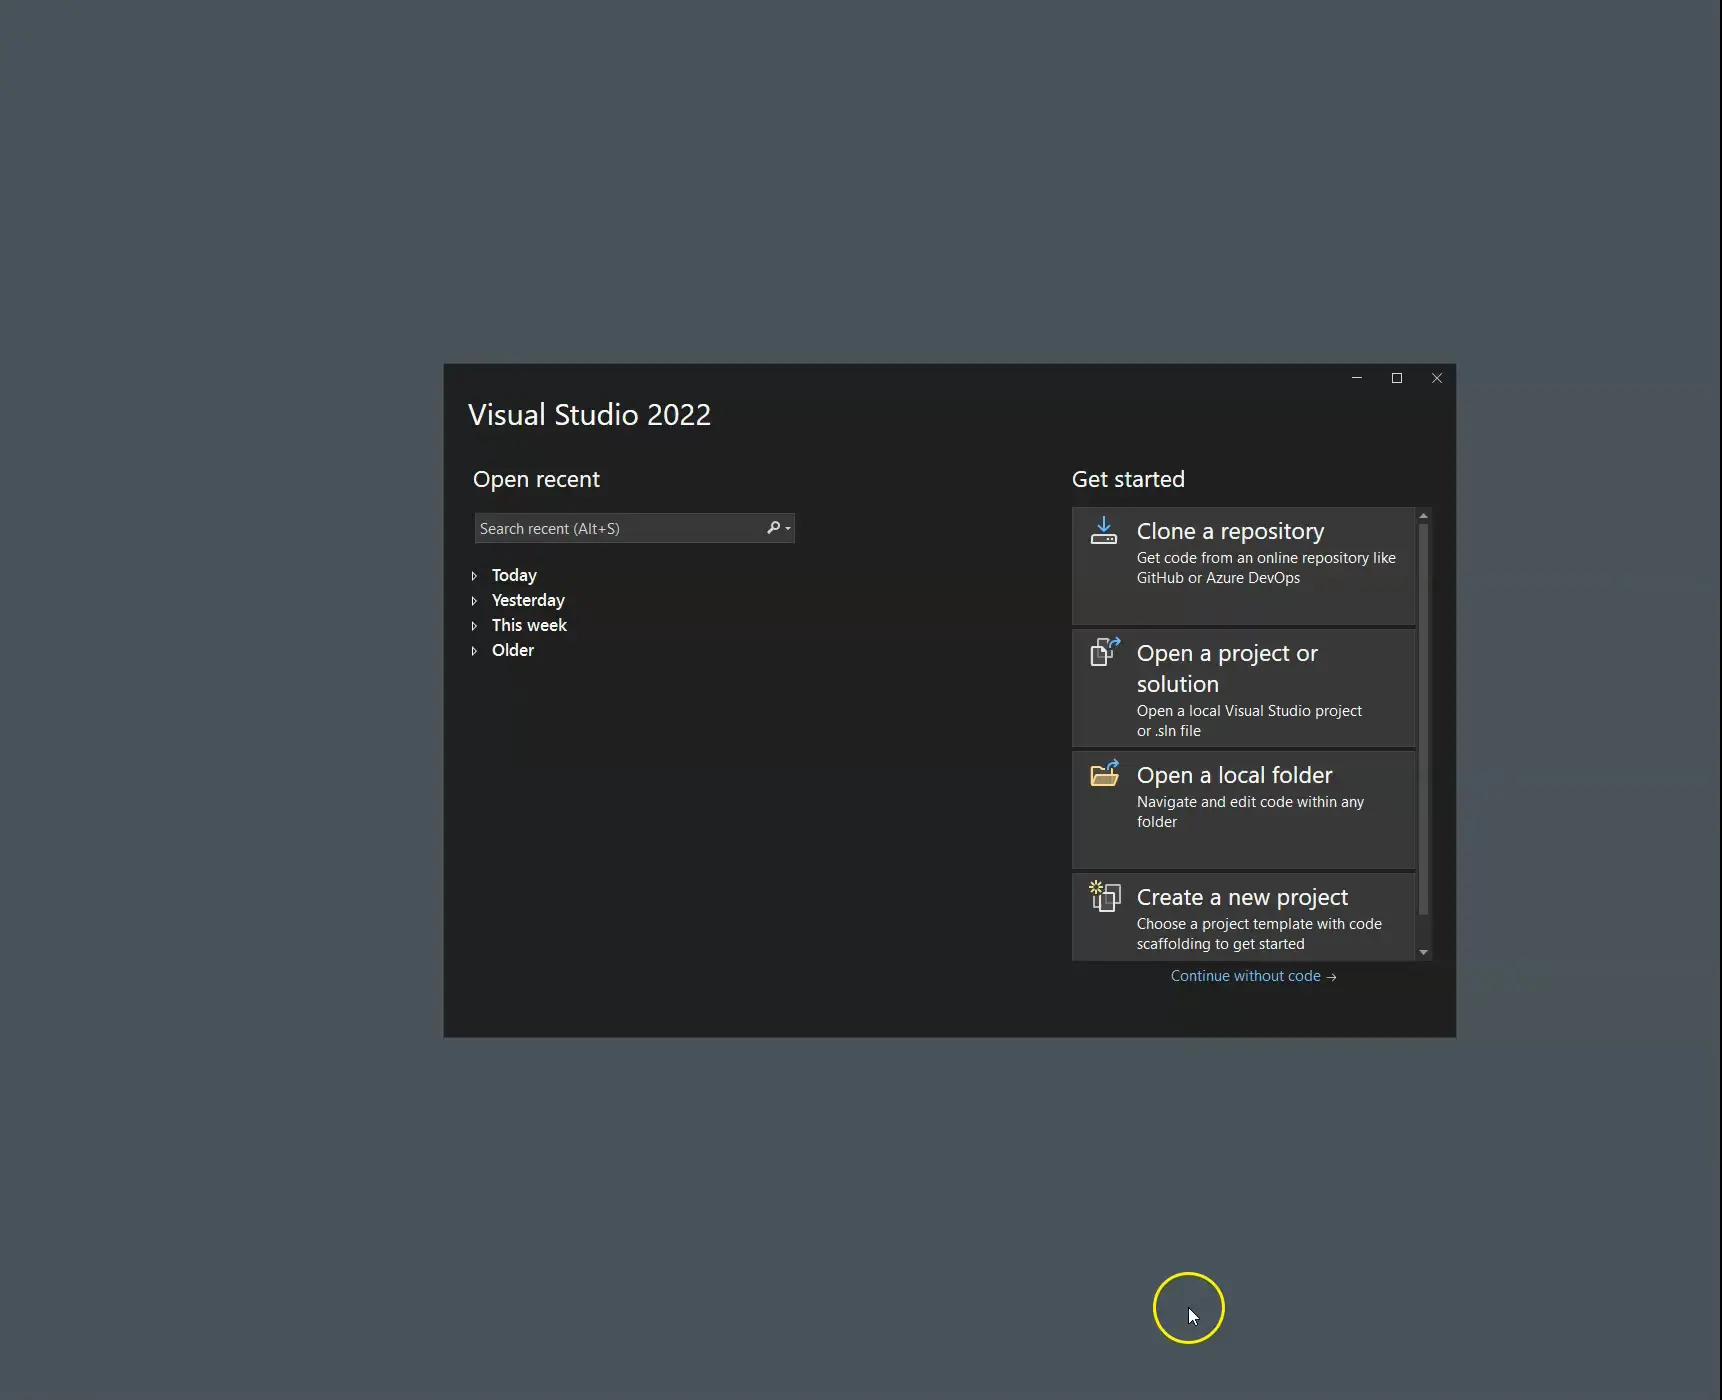
- Open Visual Studio.
- Start a New Project:
- From the Start Window, click on Create a new project.
- Choose a Class Library C# project template and click Next.
- Configure the Project:
- Give your project a name.
- Choose a location for your project.
- Set the Solution name as desired.
- Click Next.
- Select the .NET 9.0 framework
- Click Create.
2. Add a NuGet Package
- Open the NuGet Package Manager:
- Right-click on the project in the Solution Explorer.
- Select Manage NuGet Packages....
- Browse and Install Packages:
- Go to the Browse tab in the NuGet Package Manager.
- Search for a package Tickblaze.Scripts.Api.
- Select the package and click Install.
- Accept License Agreements if prompted.
3. Create Your Indicator
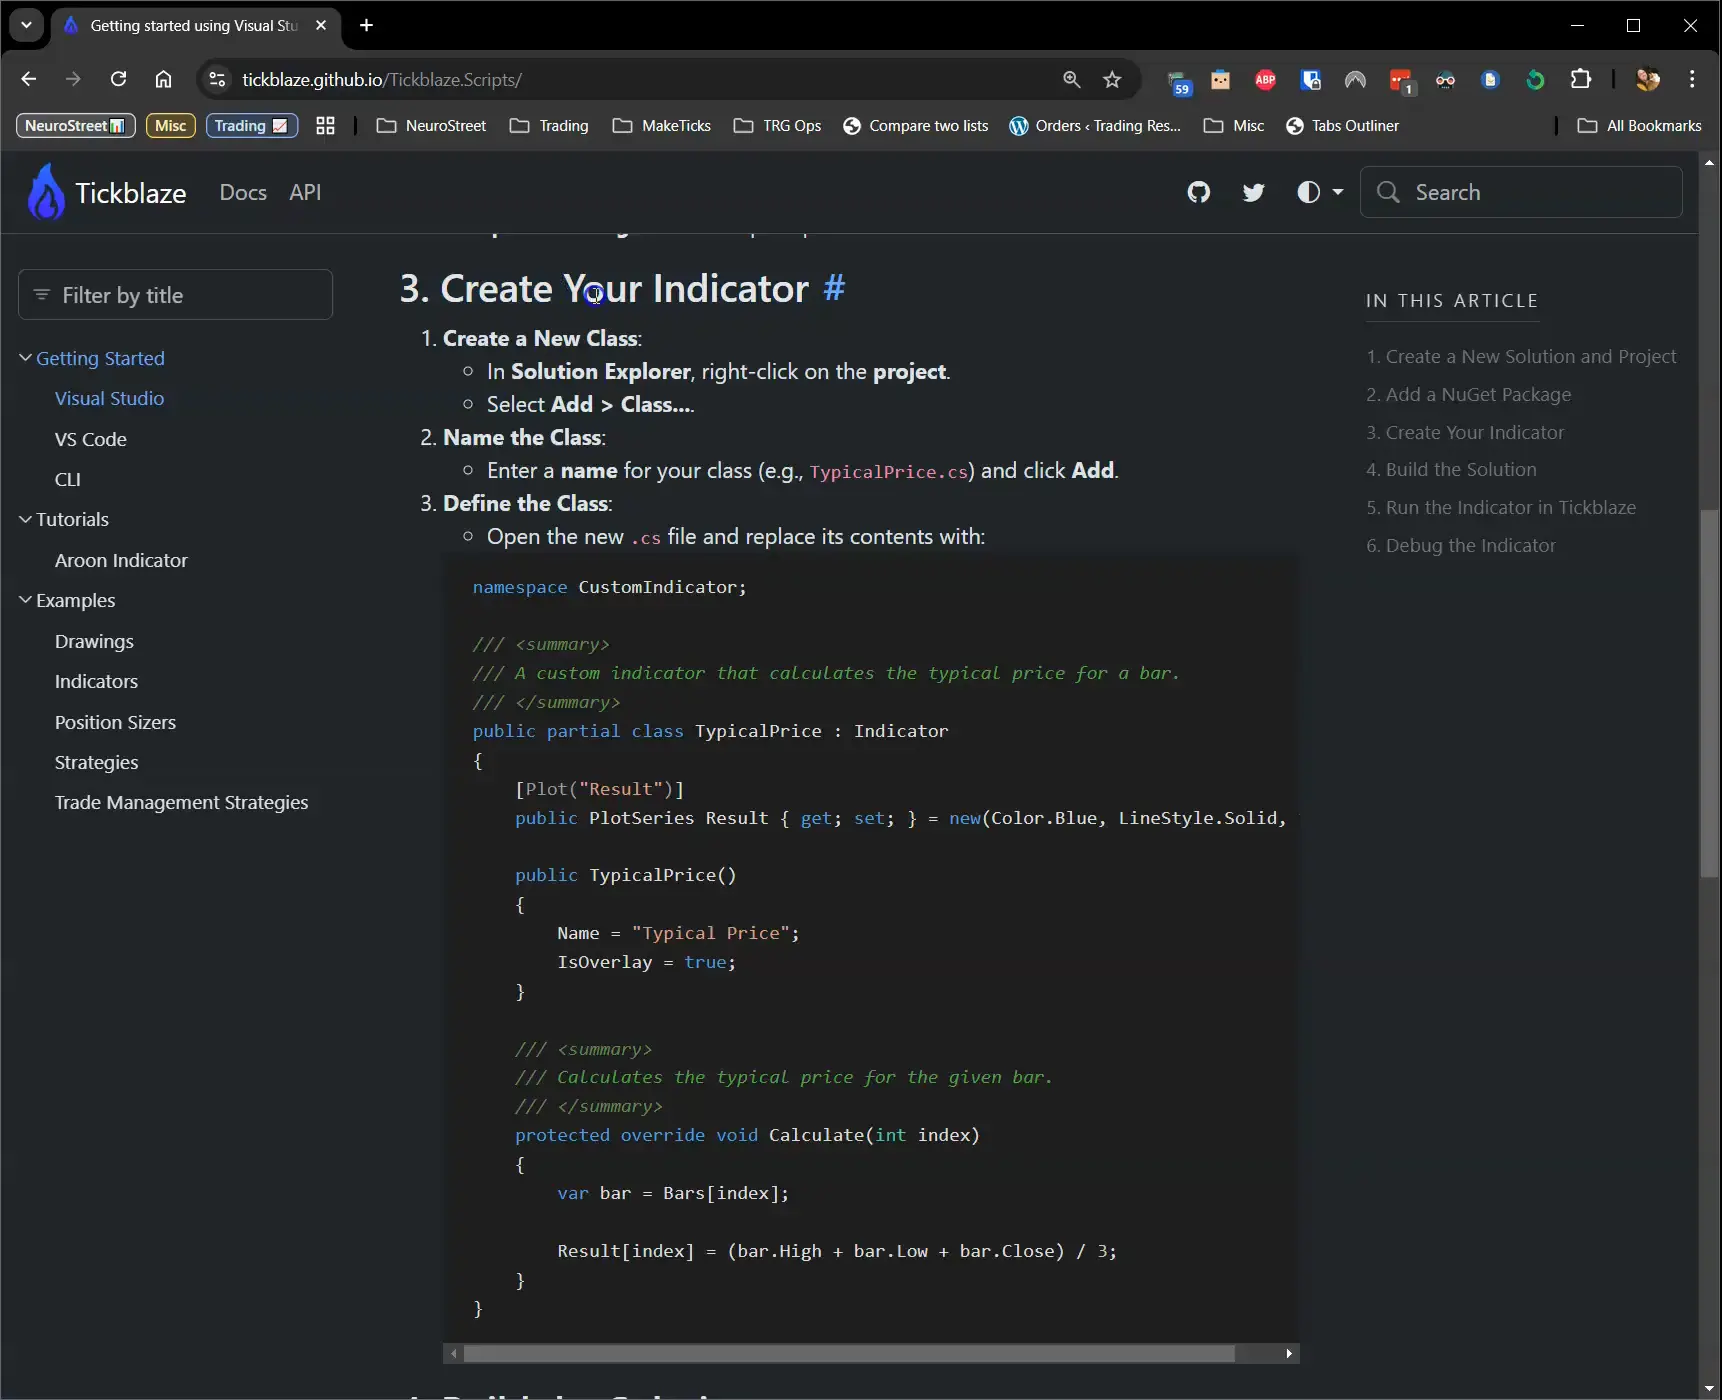
- Create a New Class:
- In Solution Explorer, right-click on the project.
- Select Add > Class....
- Name the Class:
- Enter a name for your class (e.g.,
TypicalPrice.cs) and click Add.
- Enter a name for your class (e.g.,
- Define the Class:
- Open the new
.csfile and replace its contents with:
namespace CustomIndicator; /// <summary> /// A custom indicator that calculates the typical price for a bar. /// </summary> public partial class TypicalPrice : Indicator { [Plot("Result")] public PlotSeries Result { get; set; } = new(Color.Blue, LineStyle.Solid, 1); public TypicalPrice() { Name = "Typical Price"; IsOverlay = true; } /// <summary> /// Calculates the typical price for the given bar. /// </summary> protected override void Calculate(int index) { var bar = Bars[index]; Result[index] = (bar.High + bar.Low + bar.Close) / 3; } } - Open the new
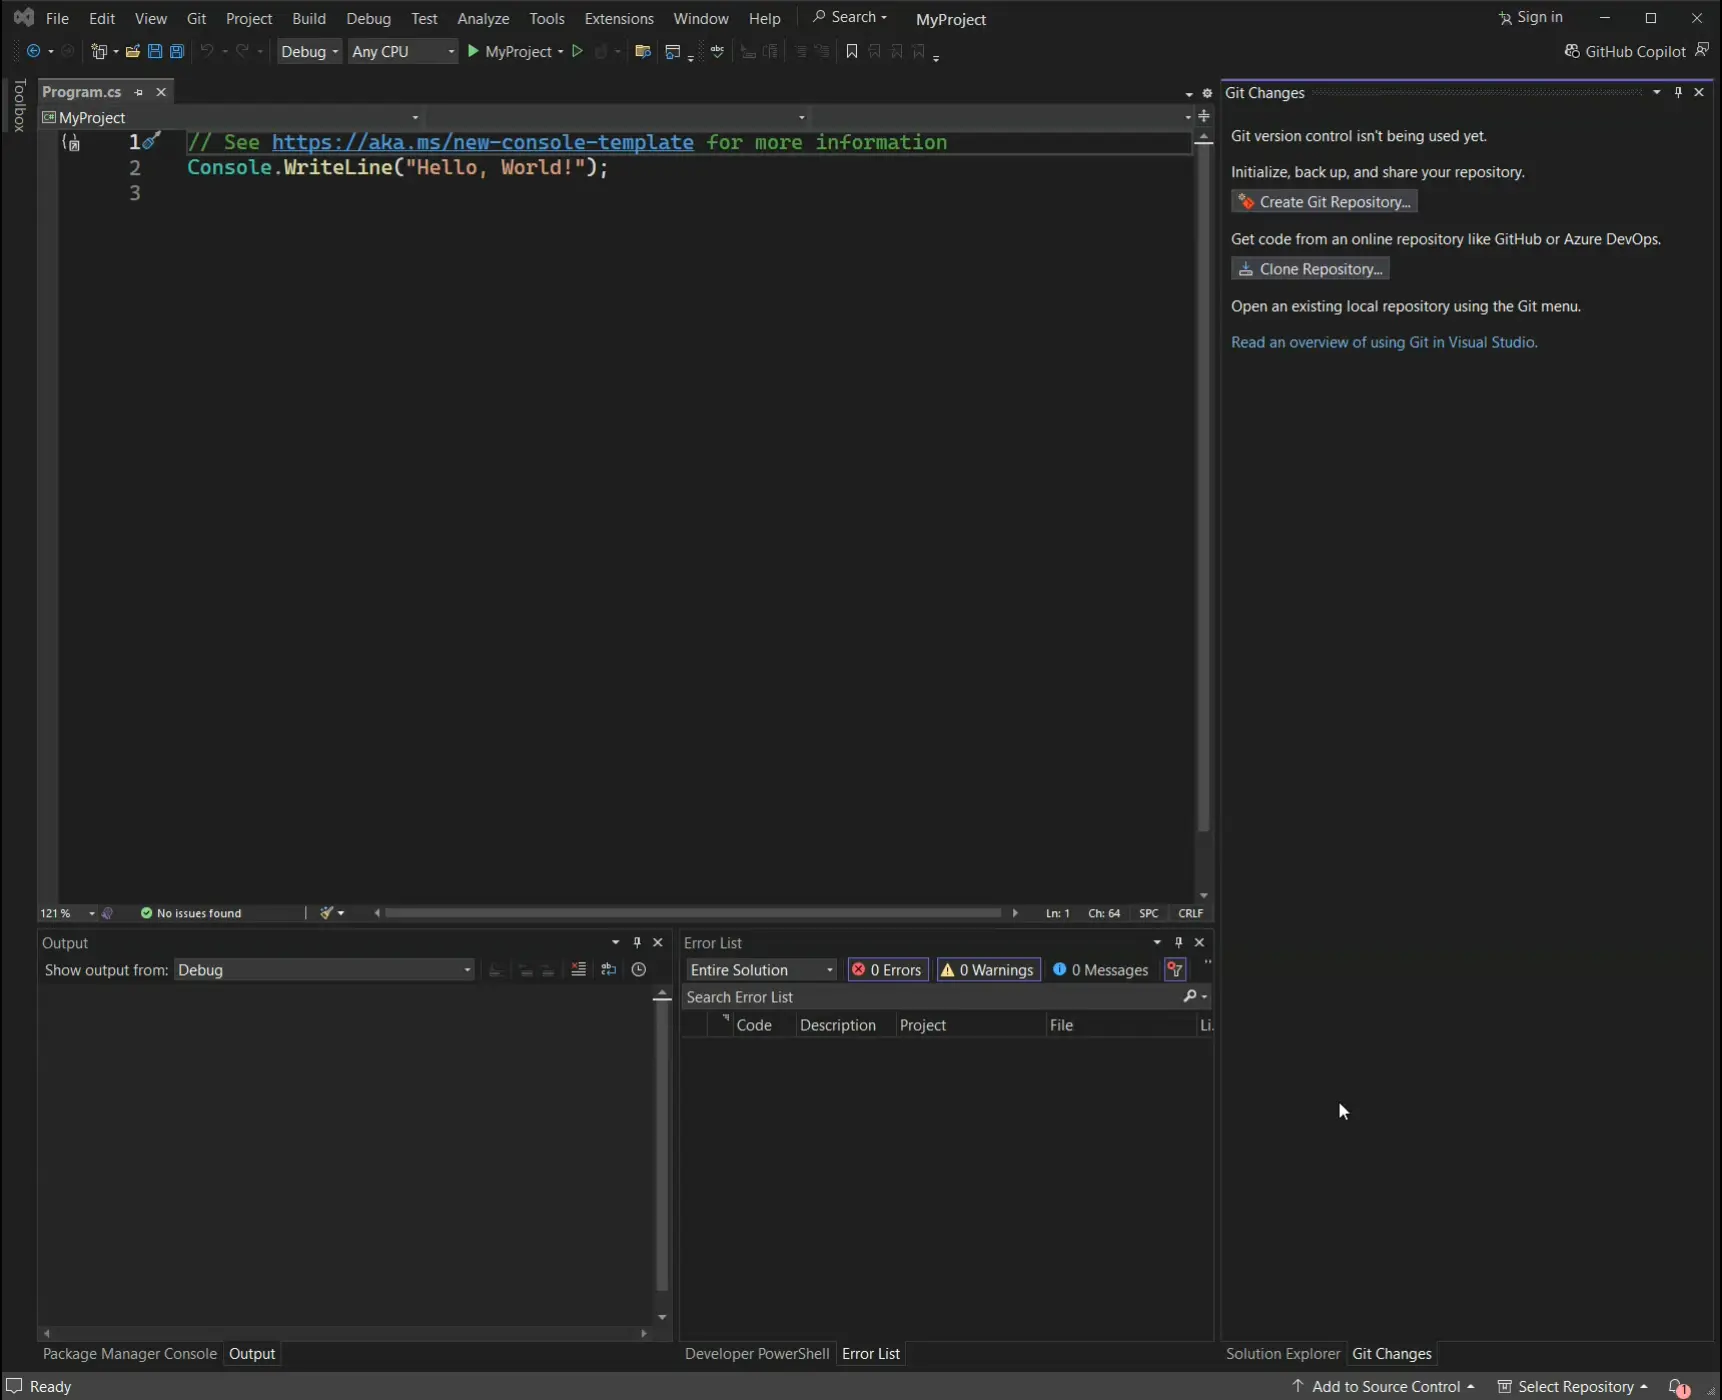
4. Build the Solution
- Build the Project:
- Go to the Build menu and select Build Solution (or press
Ctrl+Shift+B).
- Go to the Build menu and select Build Solution (or press
- Check for Errors:
- Any errors will be displayed in the Error List at the bottom.
- If there are errors, fix them and then rebuild the solution.
5. Run the Indicator in Tickblaze
After building your project, the indicator should be automatically imported into Tickblaze. To run it:
- Right-click on the chart in Tickblaze.
- Select
Indicatorsand clickAdd / Edit Settings. - From the dropdown menu, select
Typical Price. - Click the down arrow to add it to the chart.
- Click the
OKbutton.
6. Debug the Indicator
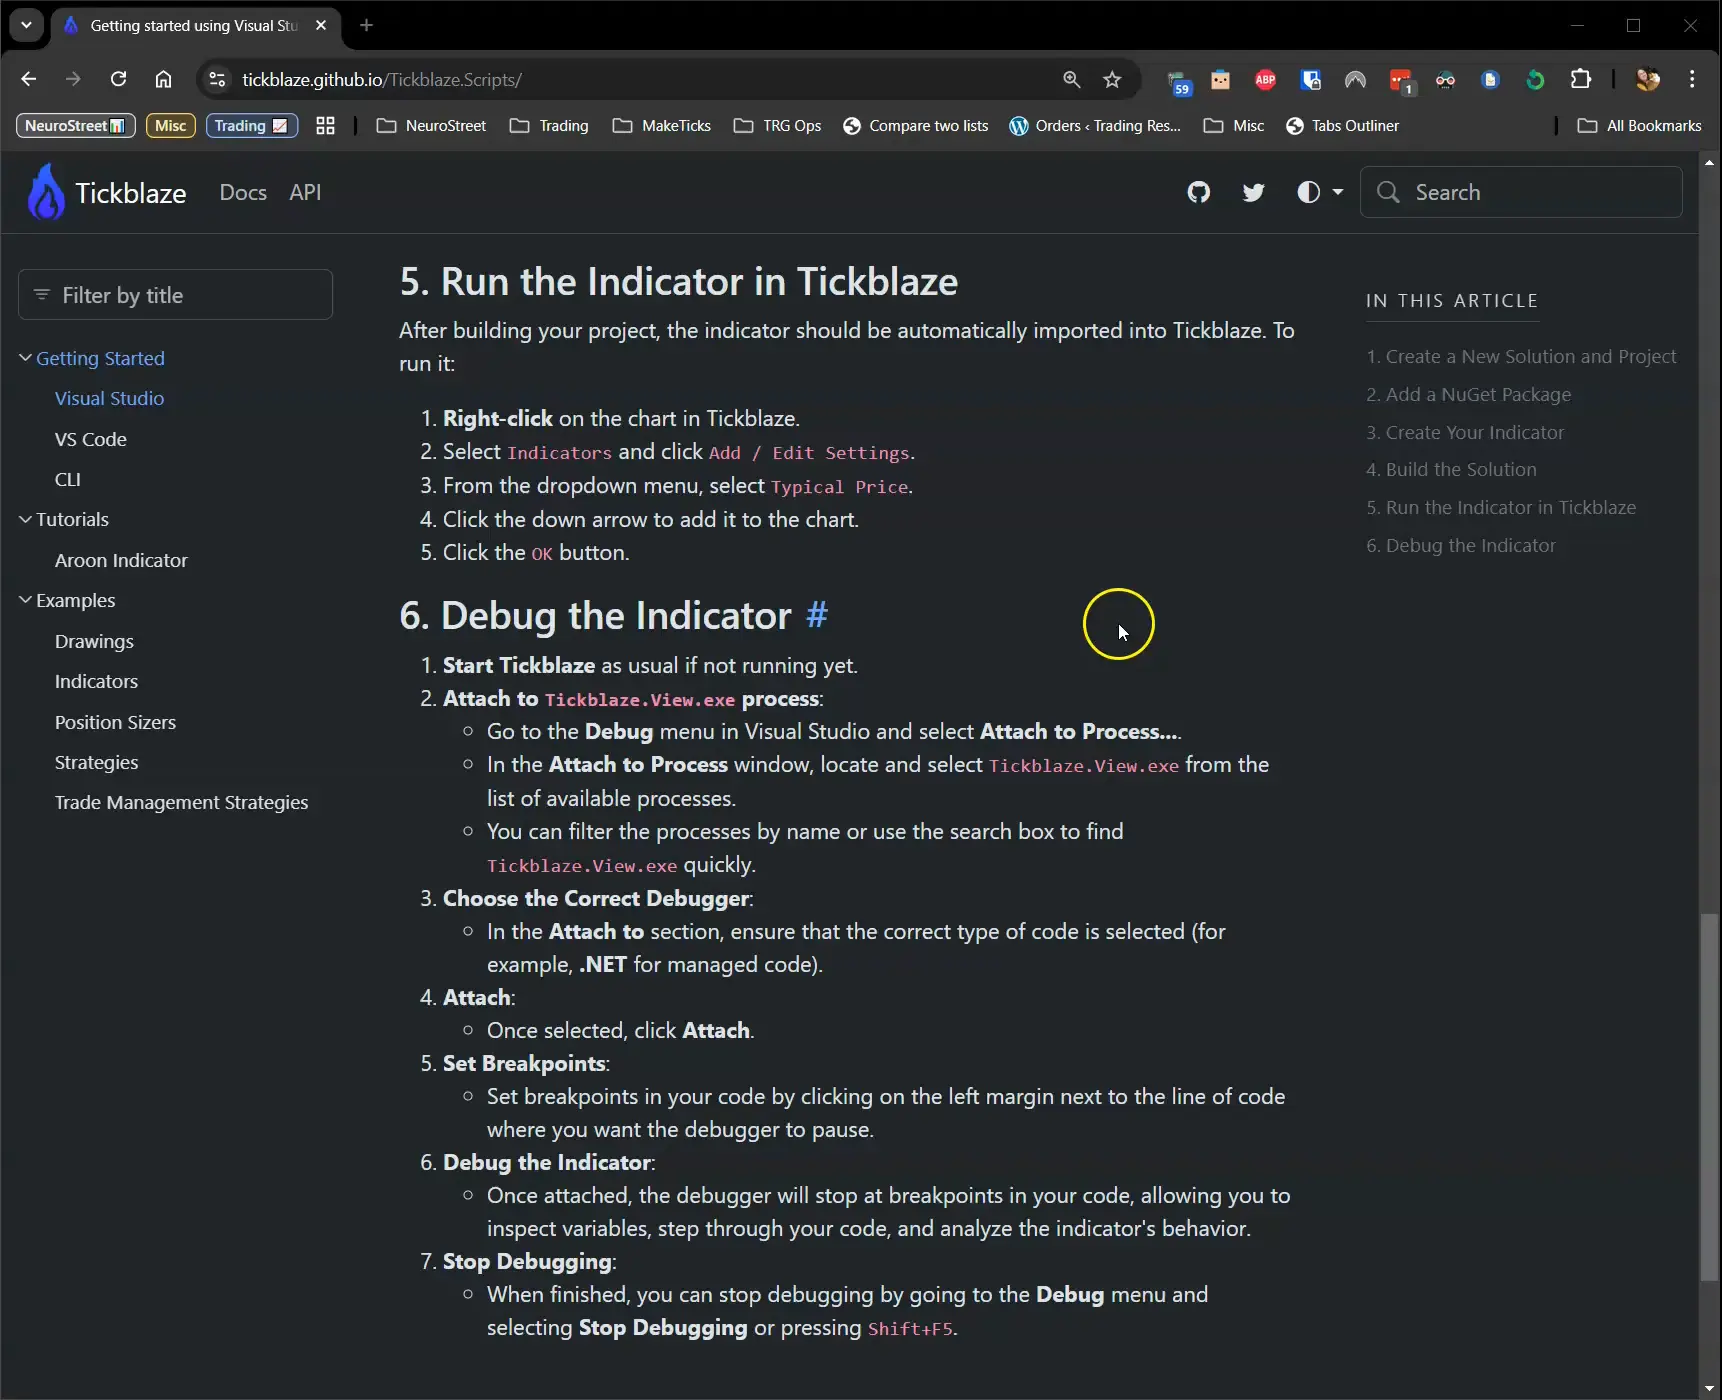
- Start Tickblaze as usual if not running yet.
- Attach to
Tickblaze.View.exeprocess:- Go to the Debug menu in Visual Studio and select Attach to Process....
- In the Attach to Process window, locate and select
Tickblaze.View.exefrom the list of available processes. - You can filter the processes by name or use the search box to find
Tickblaze.View.exequickly.
- Choose the Correct Debugger:
- In the Attach to section, ensure that the correct type of code is selected (for example, .NET for managed code).
- Attach:
- Once selected, click Attach.
- Set Breakpoints:
- Set breakpoints in your code by clicking on the left margin next to the line of code where you want the debugger to pause.
- Debug the Indicator:
- Once attached, the debugger will stop at breakpoints in your code, allowing you to inspect variables, step through your code, and analyze the indicator's behavior.
- Stop Debugging:
- When finished, you can stop debugging by going to the Debug menu and selecting Stop Debugging or pressing
Shift+F5.
- When finished, you can stop debugging by going to the Debug menu and selecting Stop Debugging or pressing